Module 12b Preview: Merchant Prince’s Folly Skirmish Guide
The Merchant Prince’s Folly skirmish is the only relevant PVE gameplay addition the Swords of Chult mid-module update has to offer. It adds an additional source of campaign currency to the Jungles of Chult campaign, and introduces some new loot. The skirmish is also part of the new random skirmish queue.
[su_box title=”More on Swords of Chult!” radius=”0″]Want all the latest on the next mid-module update? Click here for the full coverage of Swords of Chult![/su_box]
Just like Illusionist’s Gambit it’s a bit over the top to write a full-fledged “strategy guide” for the content. The skirmish is pretty easy to complete and even undergeared groups shouldn’t run into too much trouble. Since there are timed reward tiers however, it can’t hurt to go over the basic mechanics.
The Setting
 The Merchant Prince’s Folly takes players to the prince’s villa which they have to defend from attacking enemies. Just like other content in recent modules the type of the mobs is random. So you never know what you’re up against. It adds a little bit more variety to your runs and has no other effect. The Batiri mobs can be slightly more painful due to their control abilities though. During the three “phases” of the skirmish players first have to protect the villa’s courtyard, then build up barricades outside and lastly escort an engineer to one of the port’s gates. The time limit for this is 15:00. To get into the gold bracket, groups need to finish within 06:00, silver’s limit is 12:00.
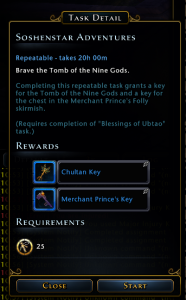
The higher the bracket, the more campaign currency you get for completing the skirmish. You would also assume that the chance to get special loot from the skirmish or the extra chest is affected. The key for the extra chest comes from the Jungles of Chult “Soshenstar Adventures” key task. It now not only produces a key for the Tomb of the Nine Gods, but also one for the skirmish. The cost remains at 25 Totems.
Phase 1: The Inner Courtyard
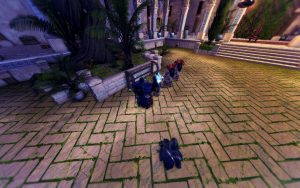 During the first phase groups have to alarm and arm guards in the courtyard of the villa. After defeating an initial wave, players have knock on eight doors at the sides to get guards out and interact with two stands to repair sabotaged weapons while more mobs are rushing into the courtyard. The best way to deal with this phase as a group is to assign one or two DPS to intercept mobs at the entrance. That way the other members can freely interact with the doors and weapon stands. One additional big wave ends the first phase and the group can exit the villa.
Phase 2: Outer Courtyard Barricades
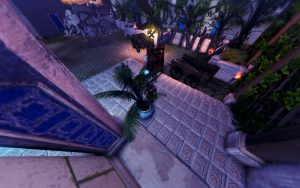 The next thing to do outside is to build up barricades to protect the villa from the ongoing attacks. There are four possible barricade spots, but only three random ones have to be build up. The materials are located on the left and players have to go back and forth four times to finish each barricades. Again mobs are trying to disturb and just like in phase one it makes most sense for a group to split duties. Let one or two players deal with the mobs while the rest carries the materials to the barricades. Getting hit by the way does not always stop the interaction. So a tanky or strong group might as well ignore the mobs altogether.
Phase 3: Escort
Once finished, you have to escort the engineer to one of the port’s gates. Depending on what barricade was left out, it can be south, west or north. Just follow the engineer and kill the spawning mobs. The only relevant enemy that can appear is a Tyrannosaur, which is as strong as the ones in Soshenstar River, but features less HP. Since killing it is not mandatory, the fastest way to complete the skirmish in that case is to kite the T-Rex away from the group while the rest fends off the final foes at the gate. After that, you can still choose to kill the T-Rex so everyone is able to claim their chests.
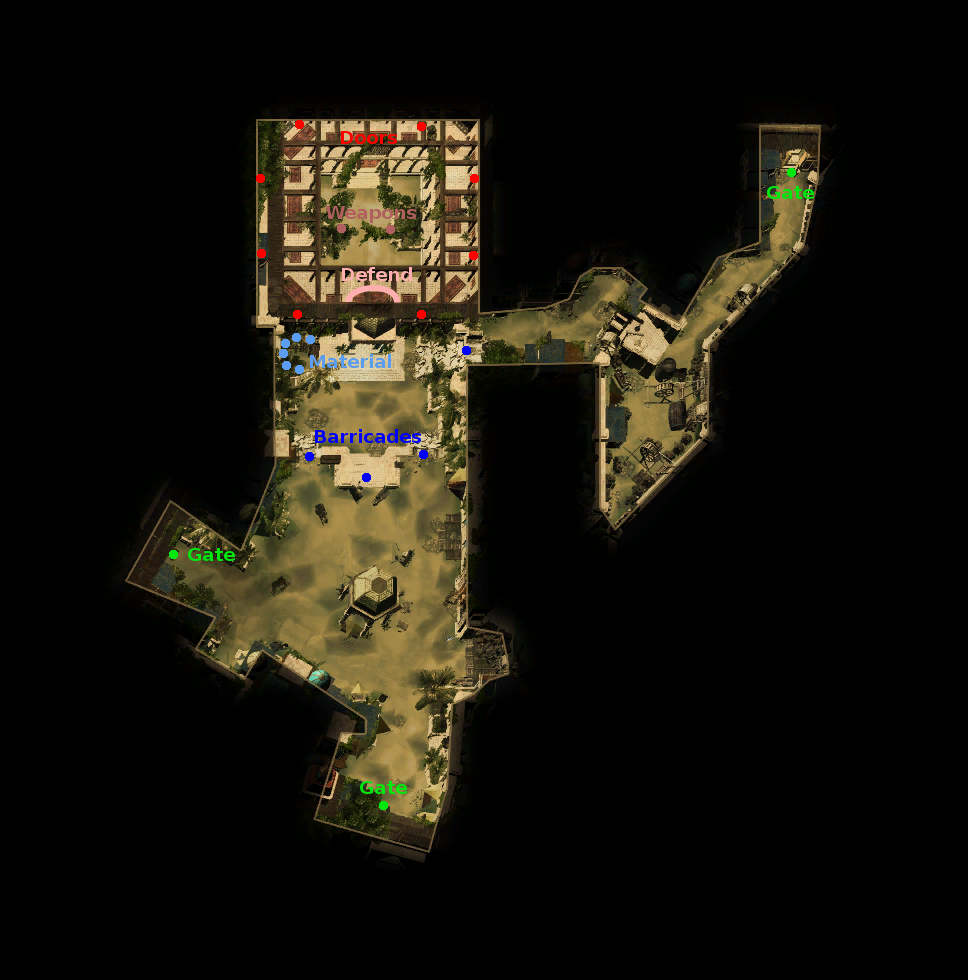
Here’s a picture that shows all the relevant locations.
The Rewards
Next to campaign currency (Bronze rewards 4 Totems and 20 Riches, Silver 6 and 30, Gold 10 and 40) and seals (20 Protector), the skirmish features new loot that can be looked up in the collection. All items drop both as reward for completing the skirmish as well as the additional chest.
- Deinonychus Mount
- Pants of the Chultan Merchant
- Shirt of the Chultan Merchant
- Batiri Runt Companion
- Skull Lord Staff Artifact
- Since Module 15: Illusionist’s Gambit Companion Gear
 The companion could be of interest for some as it adds a sizeable amount of DPS in boss fights. The underwear drops quite frequently, making it a nice and easy upgrade for alts. The shirt might be worth a look for support and DC mains as well.
Overall the skirmish should be seen as additional source for Totems and Chultan Riches. Gold runs as mentioned take under six minutes and might be more appealing than running Soshenstar River quests. Additionally seals and a nice amount of salvage (underwear) make your weekly farm runs even more attractive.
What’s your impression of the Merchant Prince’s Folly skirmish and its rewards? Share your thoughts and experience in the comments below and visit the corresponding thread on our message board!
Neverwinter UN:Blogged is always looking for writers to contribute to the blog. If you are an active player and search for a way to spread your opinions, analysis, diaries or reviews to more than 40,000 regular visitors, then don’t hesitate and get in touch with us on our contact page or message board! We are currently especially looking for console and PVP content, but that’s not exclusive. There is no frequency requirement, you post how often you want.

Can you get Seals of the Brave from this skirmish?
Nope, Protector.
Okay, thanks
We get Seals of the brave now in Mod 14, though
Does the trex in the skirmish also drops trex Fang or is this the normal Version? Or a trex which doesnt drop the Fang?
Thank you! 🙂
Tier rankings seem random. Ive had 6 min 32 second runs result in sliver and 15 min 48 second runs result gold. Not sure how tier rankings are determined.